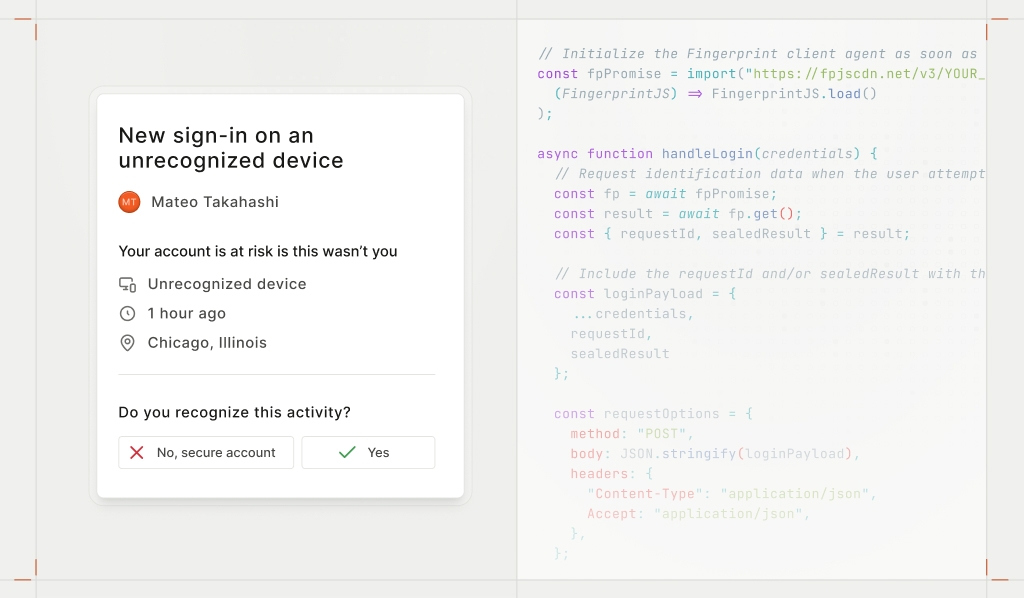
Helping your users catch suspicious activity early can prevent account takeovers, reduce fraud, and cut down on support requests. One of the most effective ways to do that is by giving them visibility into their own account security — like recent devices, login alerts, and unusual activity warnings. We just covered the why in this blog post, but the how depends on one critical thing: accurate device intelligence.
To power these user-facing insights, you need reliable data about the devices accessing your platform. That means recognizing each device uniquely, even if it’s hiding behind a VPN or using incognito mode. In this tutorial, we’ll show you how to use Fingerprint to detect devices, surface meaningful insights, and help protect your users’ accounts.
The key is device intelligence
For most of these methods you’ll need to reliably retrieve details like your user’s operating system, browser, and location. In addition, you need to uniquely recognize each browser or device. Without this, the whole strategy falls apart. Either your data becomes useless, or worse, you drown users in false positives and frustration.
Some of this data is easy enough to pull from browser and device APIs such as user agent or IP address. But let’s be real — fraudsters aren’t just going to hand over their real info. They’ll spoof, manipulate, and disguise their devices to blend in and trick your systems. If you want accurate, reliable data to keep accounts secure, you need a device intelligence platform like Fingerprint.
Industry-leading accuracy with Fingerprint
Fingerprint works on your site or mobile app, analyzing over 100 browser and device signals to give you real, actionable insights about your visitors. We generate highly accurate and stable visitor identifiers that stick around for months or even years, even if users clear cookies, use VPNs, or go incognito.
Beyond reliable browser and device recognition, Fingerprint Smart Signals provide useful details, including the basics like browser type, operating system, and device location, to advanced insights like bot detection, VPN detection, and browser tampering detection. This data not only helps prevent account takeovers but also gives you trustworthy security details you feel confident sharing with your users.
With this level of depth and industry-leading accuracy, you can confidently tailor security responses based on real risk signals, stepping up authentication for suspicious activity while keeping the experience smooth for trusted users. Whether you’re detecting unusual login patterns, flagging high-risk devices, or giving users visibility into their account activity, Fingerprint provides the reliable data you need to enhance security without adding unnecessary friction.
How to notify users and create a recent devices page
Now, let’s put Fingerprint’s visitor ID and Smart Signals data to work by building out examples of some of the methods we’ve covered. While these steps use Fingerprint, you can apply similar approaches with your own device intelligence — if it’s reliable enough for account security.
This tutorial walks through retrieving a Fingerprint visitor ID along with related browser and device data using JavaScript and Node. We also offer SDKs for popular frameworks and languages for both web and mobile development. To get started, create a Fingerprint account (sign up for a free trial) and obtain your API keys.
The first step in implementing Fingerprint is making a request to identify the visitor. You’ll do this by adding the JavaScript client agent to your front end — specifically on your login page, where you want to capture device details.
When integrating Fingerprint, load it as early as possible, then request identification when needed. In this example, the identification request happens when the user clicks “Log in.”
// Initialize the Fingerprint client agent as soon as possible
const fpPromise = import("https://fpjscdn.net/v3/YOUR_PUBLIC_API_KEY").then(
  (FingerprintJS) => FingerprintJS.load()
);

async function handleLogin(credentials) {
  // Request identification data when the user attempts to log in
  const fp = await fpPromise;
  const result = await fp.get();
  const { requestId, sealedResult } = result;

  // Include the requestId and/or sealedResult with the login request
  const loginPayload = {
    ...credentials,
    requestId,
    sealedResult
  };

  const requestOptions = {
    method: "POST",
    body: JSON.stringify(loginPayload),
    headers: {
      "Content-Type": "application/json",
      Accept: "application/json",
    },
  };

  // Send the login payload to your authentication server
  const response = await fetch("/api/login", requestOptions);
  const data = await response.json();

  if (!response.ok || !data.success) {
    return alert("Login failed.");
  }

  if (data.redirectUrl) {
    return (window.location.href = data.redirectUrl);
  }
}
When you call the get() method, Fingerprint returns a JSON object containing visitor details, including a unique visitorId. However, instead of relying on the visitorId directly, we recommend using the requestId or sealedResult. Since front-end data can’t be trusted, visitor identification should always be verified on the server side. Note that the requestId is unique to each identification request while the visitorId is tied to the user’s browser or device and remains consistent.
There are three ways to securely retrieve the complete identification event details:
- Use the
requestIdto make a request to the Fingerprint Server API/eventsendpoint. - Set up webhooks to receive identification results asynchronously, linking them to the
requestIdfrom the client. - Retrieve the cull details in an encrypted
sealedResultobject on the client side and pass it to your server for decryption. Note that thesealedResultobject is only included if you’ve enabled Sealed Client Results.
We recommend using the third approach as it provides real-time insights with the lowest latency. To enable this, set up an encryption key in the Fingerprint dashboard.
Get server-side intelligence
Next, securely handle decryption on your server. Since the full identification details are already available in the sealedResult, no additional API calls are needed — just decrypt the data using your encryption key.
Start by installing the appropriate Fingerprint Server API library. In this example, we’re using the Node SDK.
npm install @fingerprintjs/fingerprintjs-pro-server-apiThen, retrieve and decrypt the sealedResult passed from the front end to access the identification event details.
const {
  unsealEventsResponse,
} = require("@fingerprintjs/fingerprintjs-pro-server-api");

const { sealedResult } = request.body;
const decryptionKey = "YOUR_ENCRYPTION_KEY";

// Decrypt the identification event
const unsealedData = await unsealEventsResponse(
  Buffer.from(sealedResult, "base64"),
  [
    {
      key: Buffer.from(decryptionKey, "base64"),
      algorithm: "aes-256-gcm",
    },
  ]
);
The unsealed event data is where you can find key details about the visitor that can be used for notifications and user-facing security pages; for example:
// The unique visitor identifier
const visitorId = unsealedData.products.identification.data.visitorId;

// Get the operating system and browser version
const browserDetails = unsealedData.products.identification.data.browserDetails;
const visitorOs = `${browserDetails.os} ${browserDetails.osVersion}`;
const visitorBrowser = `${browserDetails.browserName} ${browserDetails.browserFullVersion}`;

// Get the visitor location
const geolocation = unsealedData.products.ipInfo.data.v4.geolocation
const visitorLocation = [
  geolocation.city?.name,
  geolocation.country?.name,
  geolocation.continent?.name,
].filter(Boolean).join(", ");
To see all of the data Fingerprint gives you in an identification event, take a look at our demo playground.
Adapt authentication based on device recognition
We now have everything needed to set up the recent devices page and new device login alerts. But we can also use this data to better protect accounts and provide a smoother experience for trusted devices.
While verifying credentials, you can also check whether the device has been used to log into the account before. In this example, we assume visitor identifiers are stored in a known_devices table linked to user accounts. Retrieve the stored visitor IDs and compare them to the one from the current login attempt. If the device is recognized, you can reduce authentication requirements. If it’s new, you might increase security measures. In the snippet below, we send a one-time passcode as an example.
// ... after verifying the credentials
// Query known visitor IDs for the given username
const rows = await db.all(
  `SELECT visitor_id
    FROM known_devices
    WHERE username = ?
    GROUP BY visitor_id;`,
  [username]
);

// Extract visitor IDs and return them as an array
const knownVisitorIds = rows.map((row) => row.visitor_id);
const newDevice = !knownVisitorIds.includes(visitorId);

if (newDevice) {
  // New device detected, require additional verification
  const otp = generateOTP();
  await sendOTP(username, otp);

  return {
    success: true,
    message: "Please verify with the code sent to your phone.",
    redirectUrl: "/otp",
  };
}

// Recognized device, proceed with the login process
Notify the user of potentially suspicious activity
After you’ve done your verification checks, if the login was successful and a new device was used, use the visitor details to send a “New device login” notification to the user. If the login failed and there have been multiple recent failed logins, you can also notify the user. Let’s assume we have the outcome of all the verification checks in loginSuccess as a boolean.
if (!loginSuccess) {
  // Retrieve the number of failed login attempts in the last hour
  const rows = await db.all(
    `SELECT COUNT(*) AS cnt
		  FROM login_attempts
	    WHERE username = ?
	    AND attempted_at >= datetime('now', '-1 hours')
	    AND result = 'LoginFailed';`,
    [username]
  );

  // If an unusual amount of failed logins, send an alert
  if (rows[0].attempts > 5) {
    await sendFailedLoginAlert(
      username,
      visitorOs,
      visitorBrowser,
      visitorLocation
    );
  }
}

if (loginSuccess && newDevice) {
	// If the user successfully logged in from a new device
  await sendNewDeviceAlert(
    username,
    visitorOs,
    visitorBrowser,
    visitorLocation
  );
}
Display recent devices used to access the account
You should log device information for every login attempt, whether successful or not. In this example, we’ll use a login_attempts table to store the username, visitor ID, and key details for future reference.
  await db.run(
    "INSERT INTO login_attempts (username, visitor_id, result, os, browser, location) VALUES (?, ?, ?, ?, ?, ?);",
    [username, visitorId, result, visitorOs, visitorBrowser, visitorLocation]
  );

  // Finish your login process
Once stored, the data can later be used to populate a recent devices view for the user. You can also flag the current device by checking its visitor ID against the recent devices list and provide an option to sign out other devices if needed.
async function getRecentDevices(username) {
  const devices = await db.all(
    `SELECT visitor_id, os, browser, location, attempted_at
    FROM login_attempts
    WHERE username = ?
    AND result = 'LoginSucceeded'
    AND attempted_at >= datetime('now', '-1 month');`,
    [username]
  );

  devices.map((device) => {
    if (device.visitor_id === visitorId) {
      device.isCurrentDevice = true;
    }
    delete device.visitor_id;
    return device;
  });

  return devices;
}
For an example output display like this:

Building smarter security with device intelligence
By combining accurate device identification with real-time signals, you can go beyond static security measures and adapt to risk in the moment. This tutorial showed how to detect and identify devices, notify users of new device logins, and surface useful details like browser, OS, and location.
With these tools in place, you can strengthen account security while giving users meaningful visibility into their own activity and reduce fraud without adding friction. Want to learn more about how you can create safer experiences with Fingerprint? Reach out to our team!


